Virtual tables enable integrating data from external data sources by seamlessly representing that data as tables in Microsoft Dataverse, without data replication
Virtual Connector Providers currently available are:
- SQL Server
- Sharepoint
- Excel
In this article I will go step by step on how to connect your excel sheet to Dataverse:
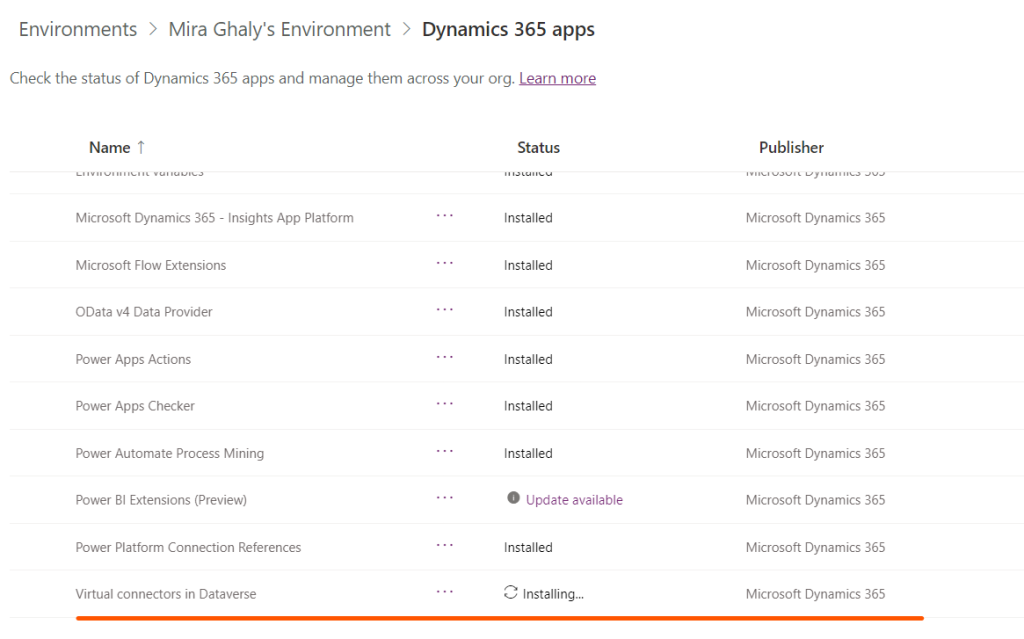
- Download and Install the virtual connector from this URL
- Click on Get Free , Sign in to your account and choose your environment, you can check the progress of installation and once it is installed you can proceed to step3.
3. Go to Power Apps (make.powerapps.com), and select the environment in which you would like to set up the virtual table.
4. In the left navigation pane, select Dataverse > Connections, and then select New connection.
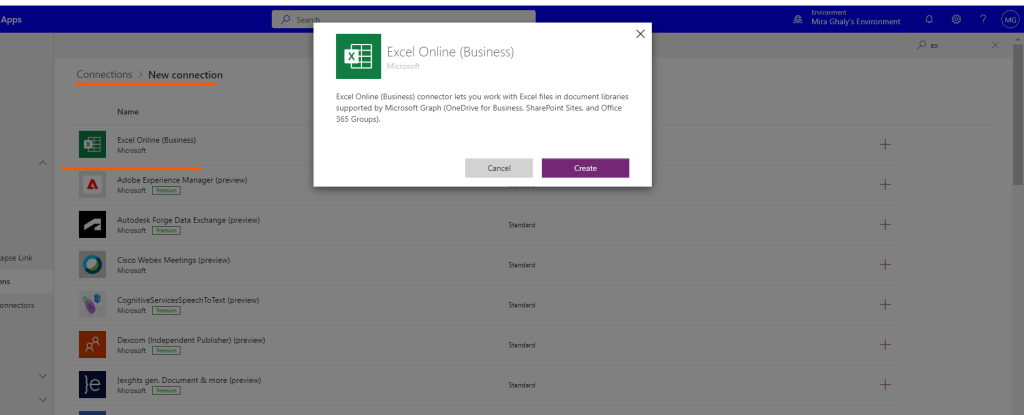
5. Select the Microsoft Excel Online (Business) from the list of connections and create new connection

6. You’ll be asked to provide additional details to connect to the data source.
Note: Your excel file should be saved in OneDrive of the person whose the connection belongs to and the table should be formatted as table.
7. Select Create, your current signed-in credentials will be used.
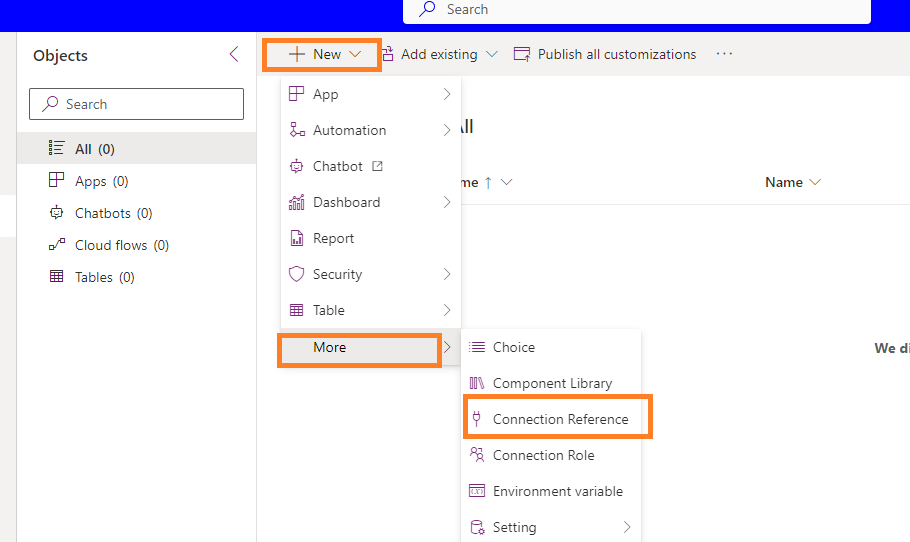
8. Go to solutions -> Create new Solution and Select New Connection reference.
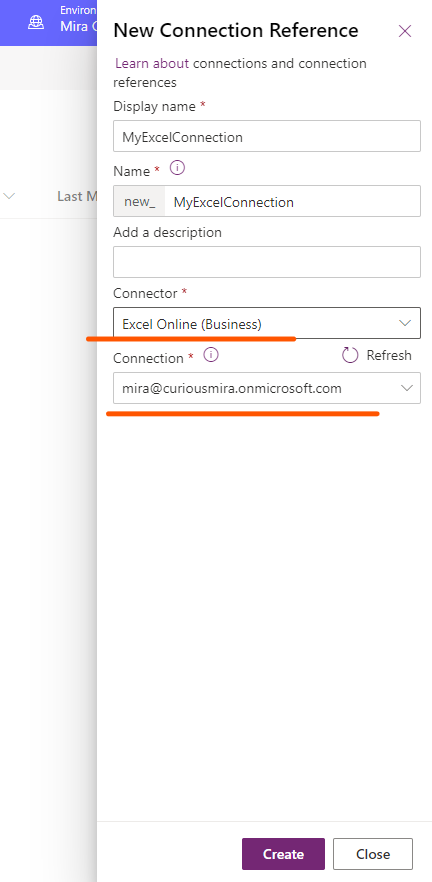
9. Choose the Connector and the connection and click Create
10. Go to Advanced setting by selecting the Gear Icon

11. Navigate to settings – > Administration and select virtual entity data sources

12. Click on New

13. Select Virtual Connector Data Provider and Click OK.

14. Set the Name of your Data Source, Select the connection we have created in step 9 and the file name in your onedrive:

15. Once you save an entity catalogue will be created, Entity Catalogue will be used to help you create your virtual tables
16. Go to Tables -> Filter by Virtual and then you can see your entity catalogue

17. Next you need to proceed to creating your virtual table based on your entity Catalogue so you need to create a new app and add the entity catalogue to it.
18. Navigate to Apps and Click New App and add the Entity Catalogue to it.

19. Click Add Page from the left navigation and select the entity catalouge


20. Save and Publish, then Play to open the app
21. Select Table 1 or any table from the tables defined in your datasource.

22. Select the Name , the primary key and the primary name and set Create or Refresh Entity to yes and save and now you can see your virtual table in the list of Dataverse Tables.

Moving Solution to other Environment:
- Make sure you have installed the Dataverse Virtual Connector on your target environment before importing your solution.
- Make sure you have created the required connection step No. 5 on the target environment.
- You will need to add the Virtual table Data Source through the solution components -> Developer

